This is where it all started. I photoshopped a picture of a Stradivari violin.
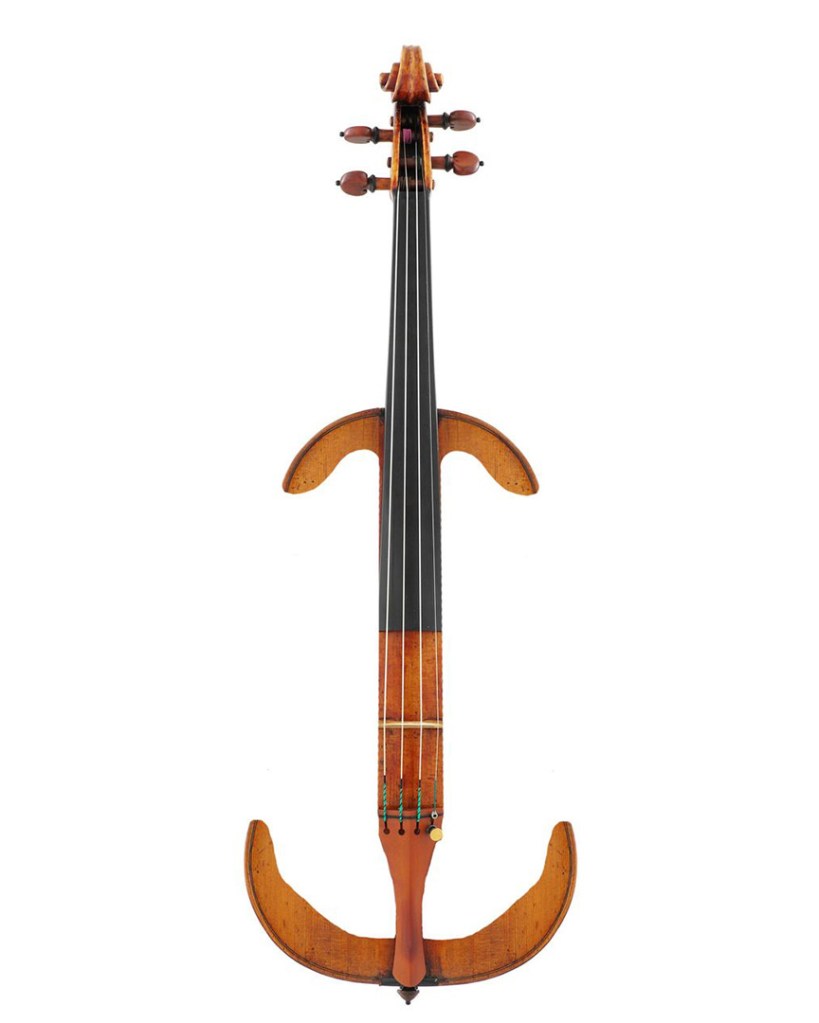
I started searching for the perfect shape, and I made a design that would fit my chinrest, shoulder rest, and the type of microphone that I like to use, as well as the shape that would correspond to the same feeling as playing on the acoustic violin.

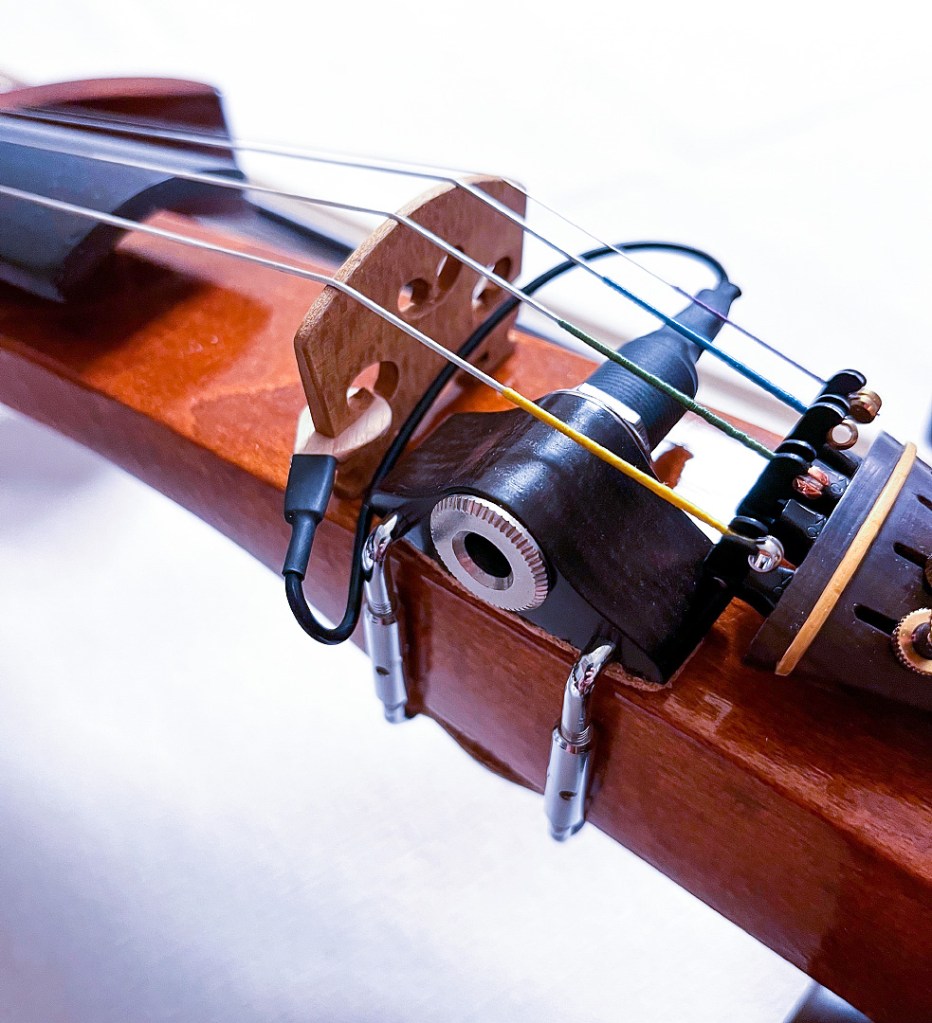
This is the microphone I use, but you can install any other microphone that you want, and I certainly can help with that.
In the part where the left hand is touching the acoustic violin, there is an upper and lower deck that sticks out a bit, and we feel it while playing. But on most electric violins, there is nothing like that. I made sure that my electric violin would have that. It would help to have the exact same feeling while playing.
Another essential thing is the size. In the electric violin world, I see all variations of sizes, but never the standard ‘’Stradivari model’’ size, which for the corpus of the violin is – 355 or 356 mm.
The critical part is the bridge, where the microphone is usually being placed. This part is glued to the instrument of all the other electric violins I found, so you can not change the size of the corpus of the violin.
That size affects how close or far away you have to place your fingers to play in tune. On my electric violin, it is possible to place it anywhere a violinist wants to match the size of their instrument. It takes only a few seconds.
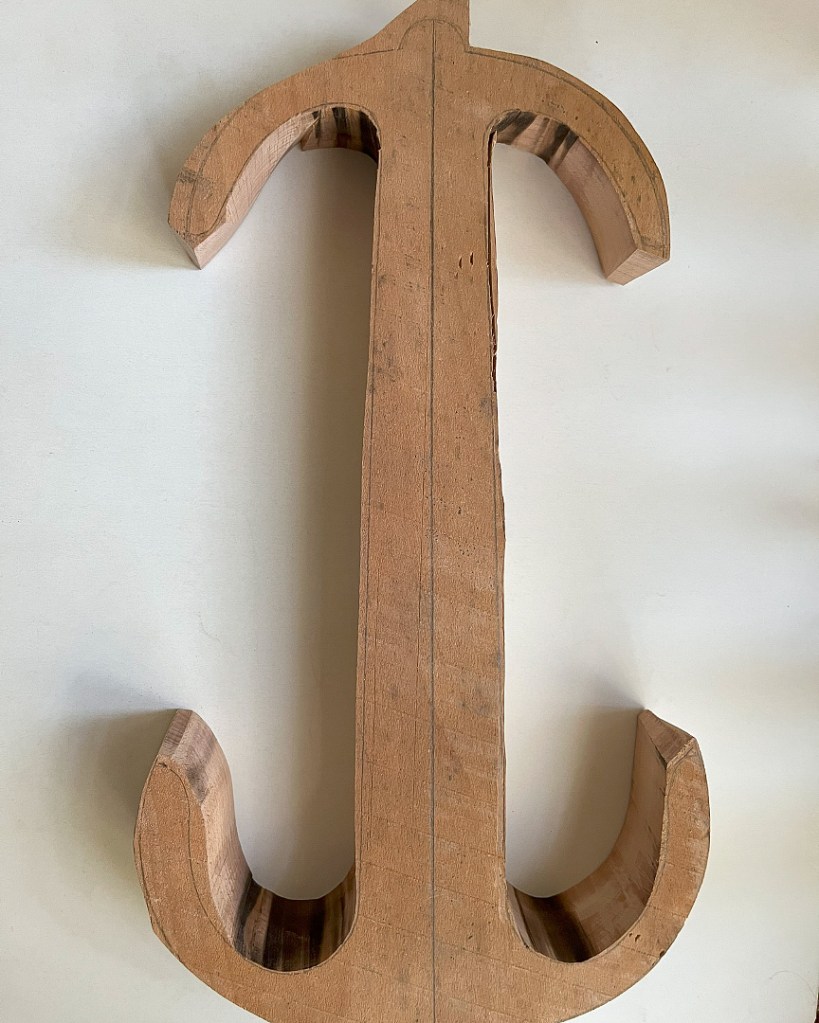
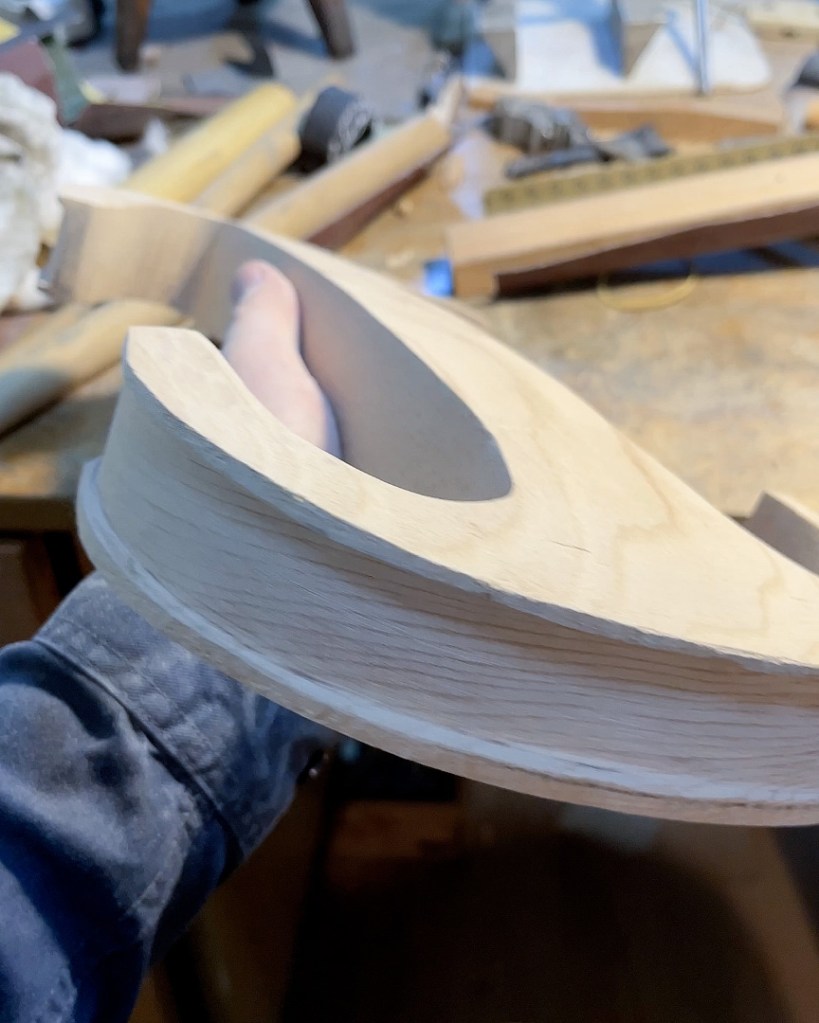
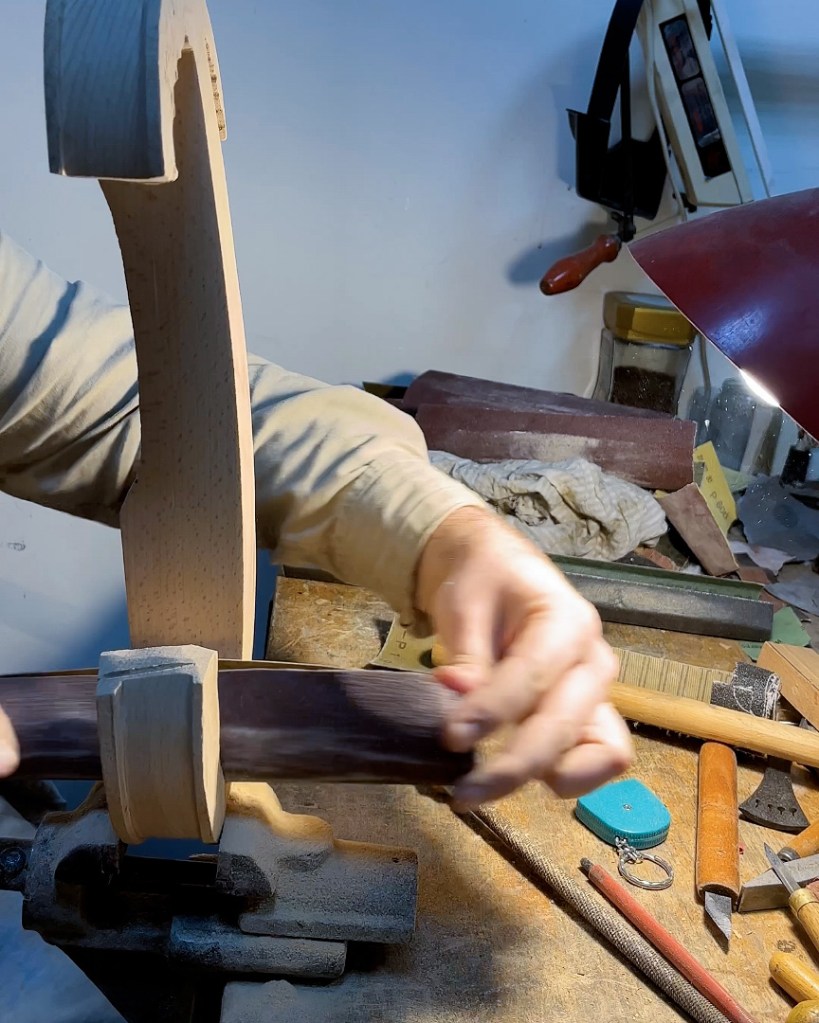
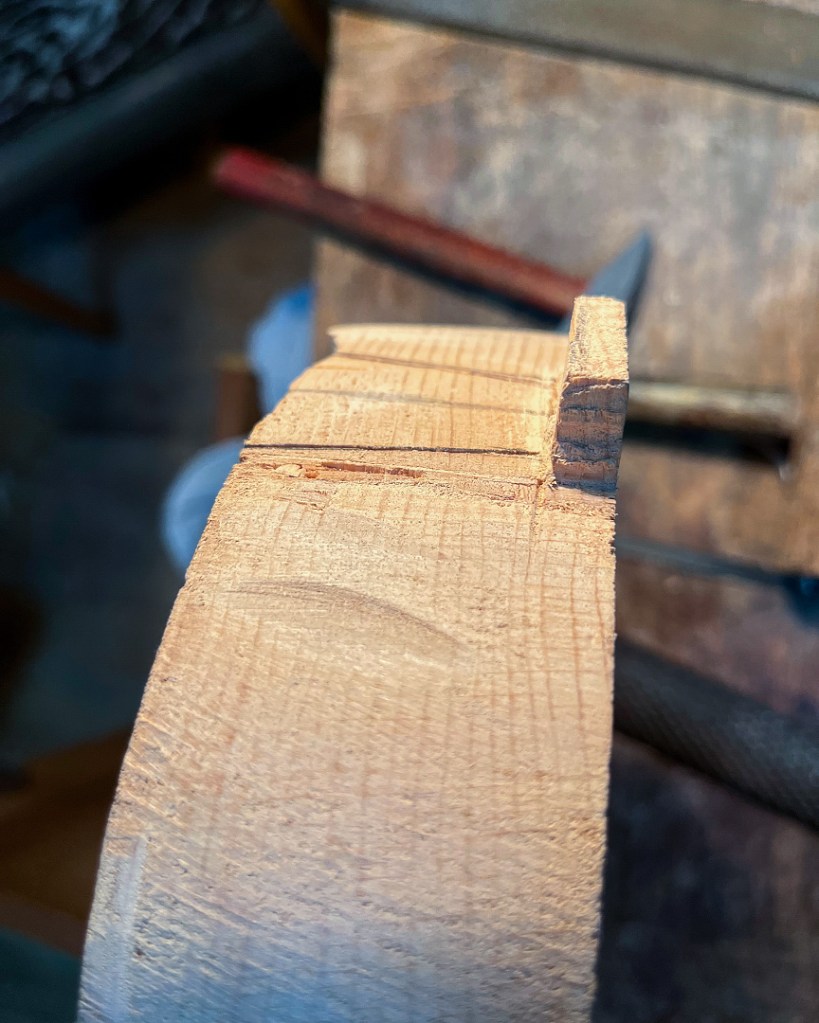
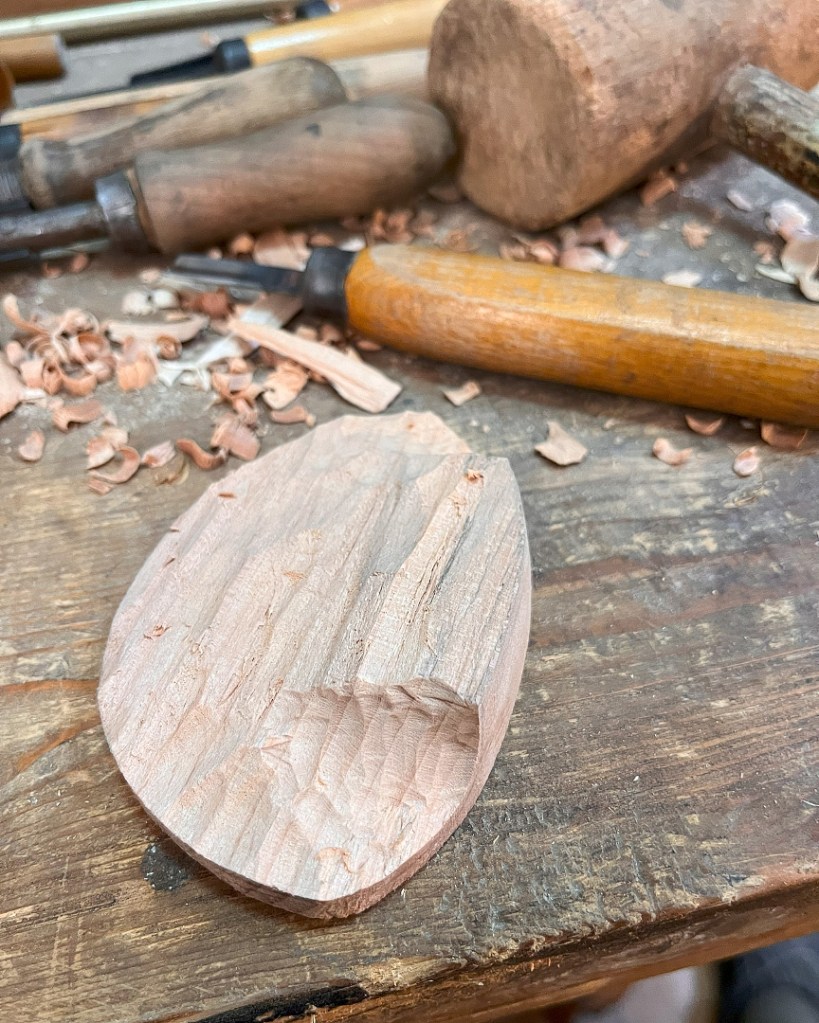
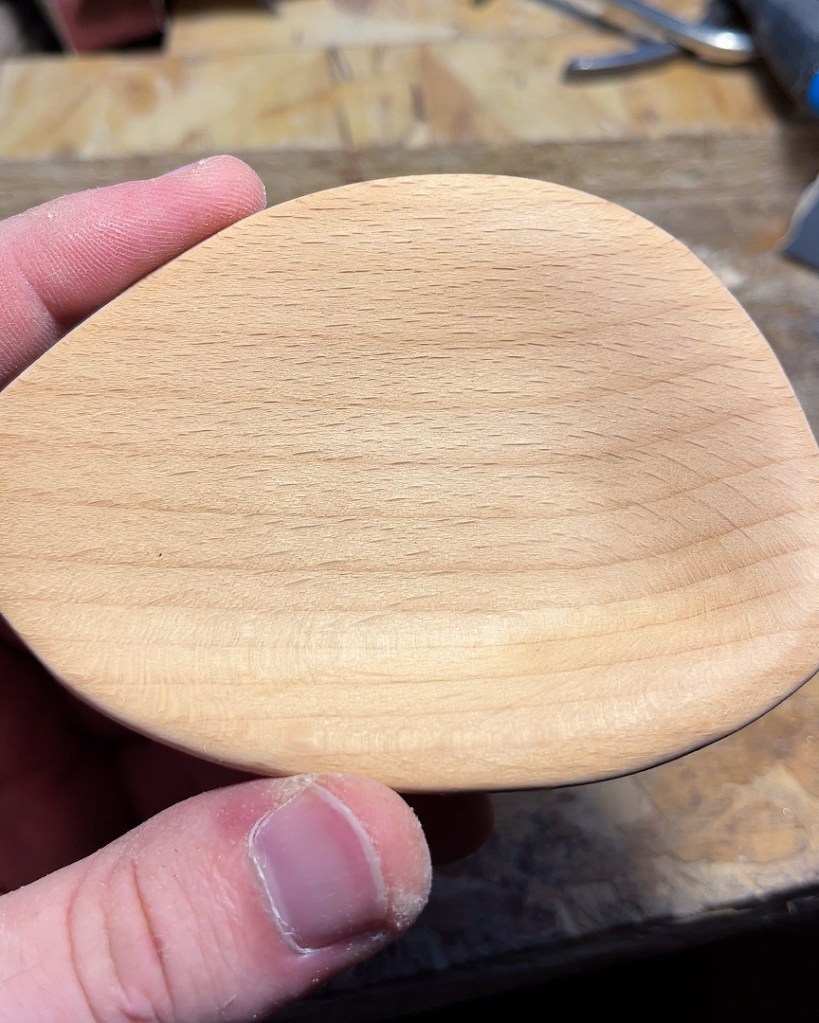
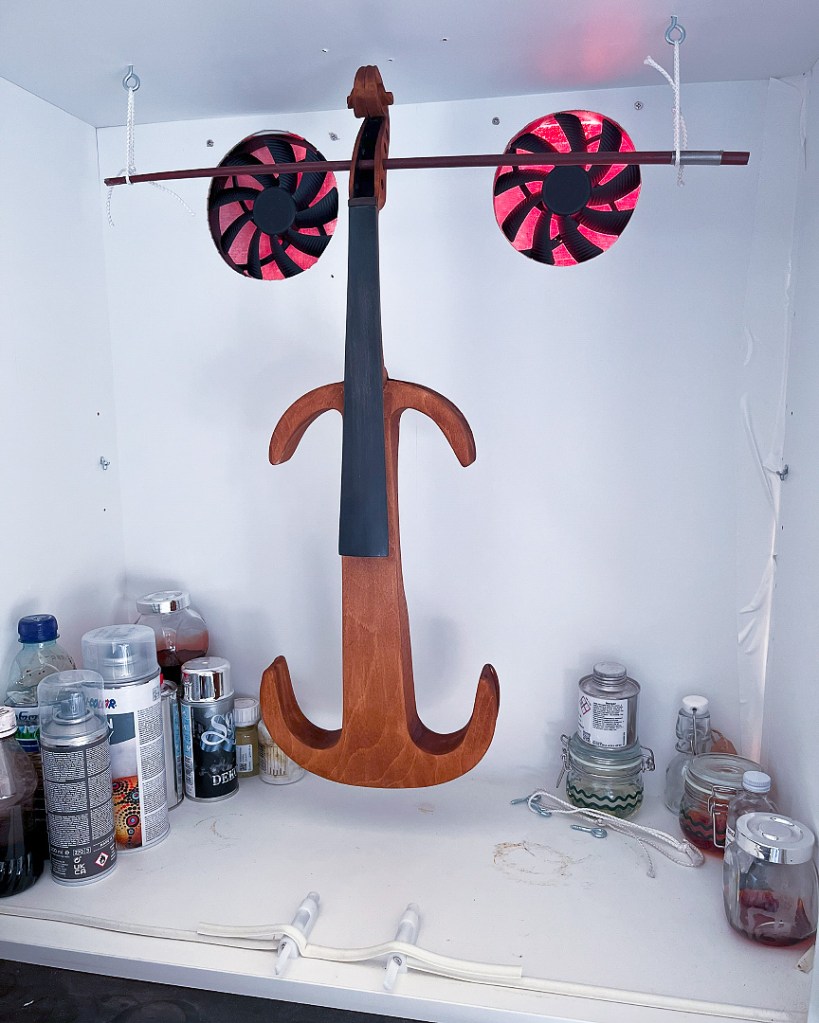
Here you can see some of the behind-the-scenes pictures of the process of making – the perfect electric violin:


For order inquiries, please write an email:
sasha@khatiskatsi.com
